Porcelain Patio Installation: The Maybury Method for Scottish Gardens
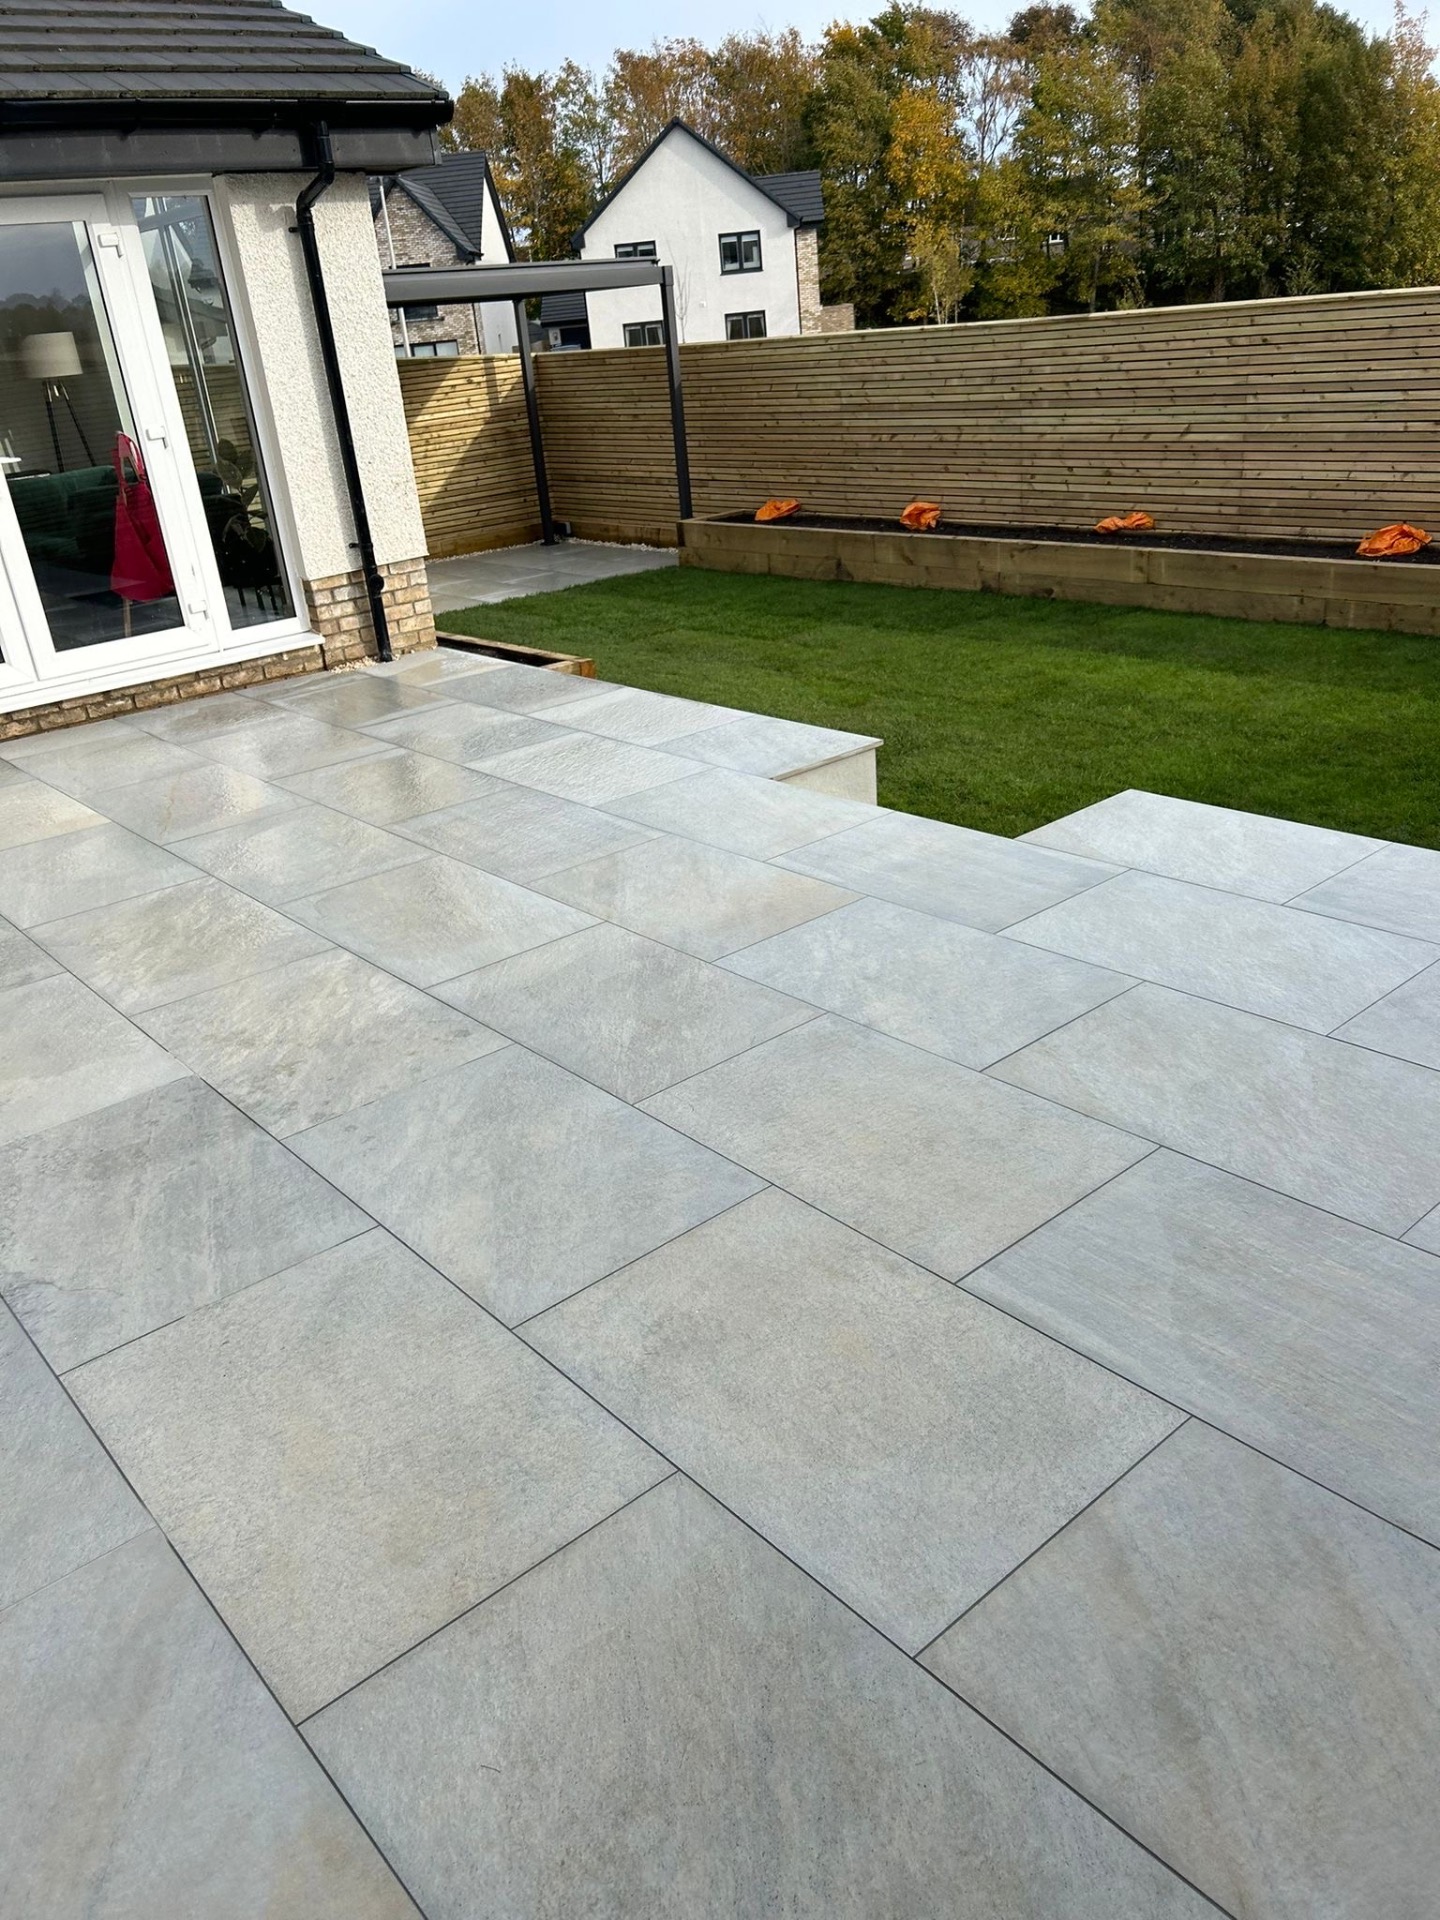
Porcelain is the best patio material for Scottish weather — but only when installed properly. Most failed porcelain patios we are called to repair fail in the first two winters because of three avoidable installation mistakes. This is the full Maybury method, refined over 60+ Scottish installs.
Stage 1 — Excavation & Sub-Base
Strip topsoil and excavate to 200 mm minimum below finished slab level. In Edinburgh's clay subsoils we frequently dig deeper to remove soft spots. Lay terram membrane on the formation, then 150 mm of MOT Type 1 in two 75 mm lifts, each whacker-compacted to refusal. Porcelain is unforgiving of poor sub-bases — because the slab itself never moves, any settlement shows immediately as cracked joints or trip-hazards.
Stage 2 — Edge Restraints & Falls
Edge restraints (concrete haunching against permanent walls, kerb edge to open sides) lock the patio in place. Set a clear cross-fall — minimum 1:80 (12.5 mm per metre) — away from all building elevations. Falls are non-negotiable in Scotland; standing water at freeze-thaw destroys jointing in a single winter even on porcelain.
Stage 3 — Primer Slurry & Full Mortar Bed
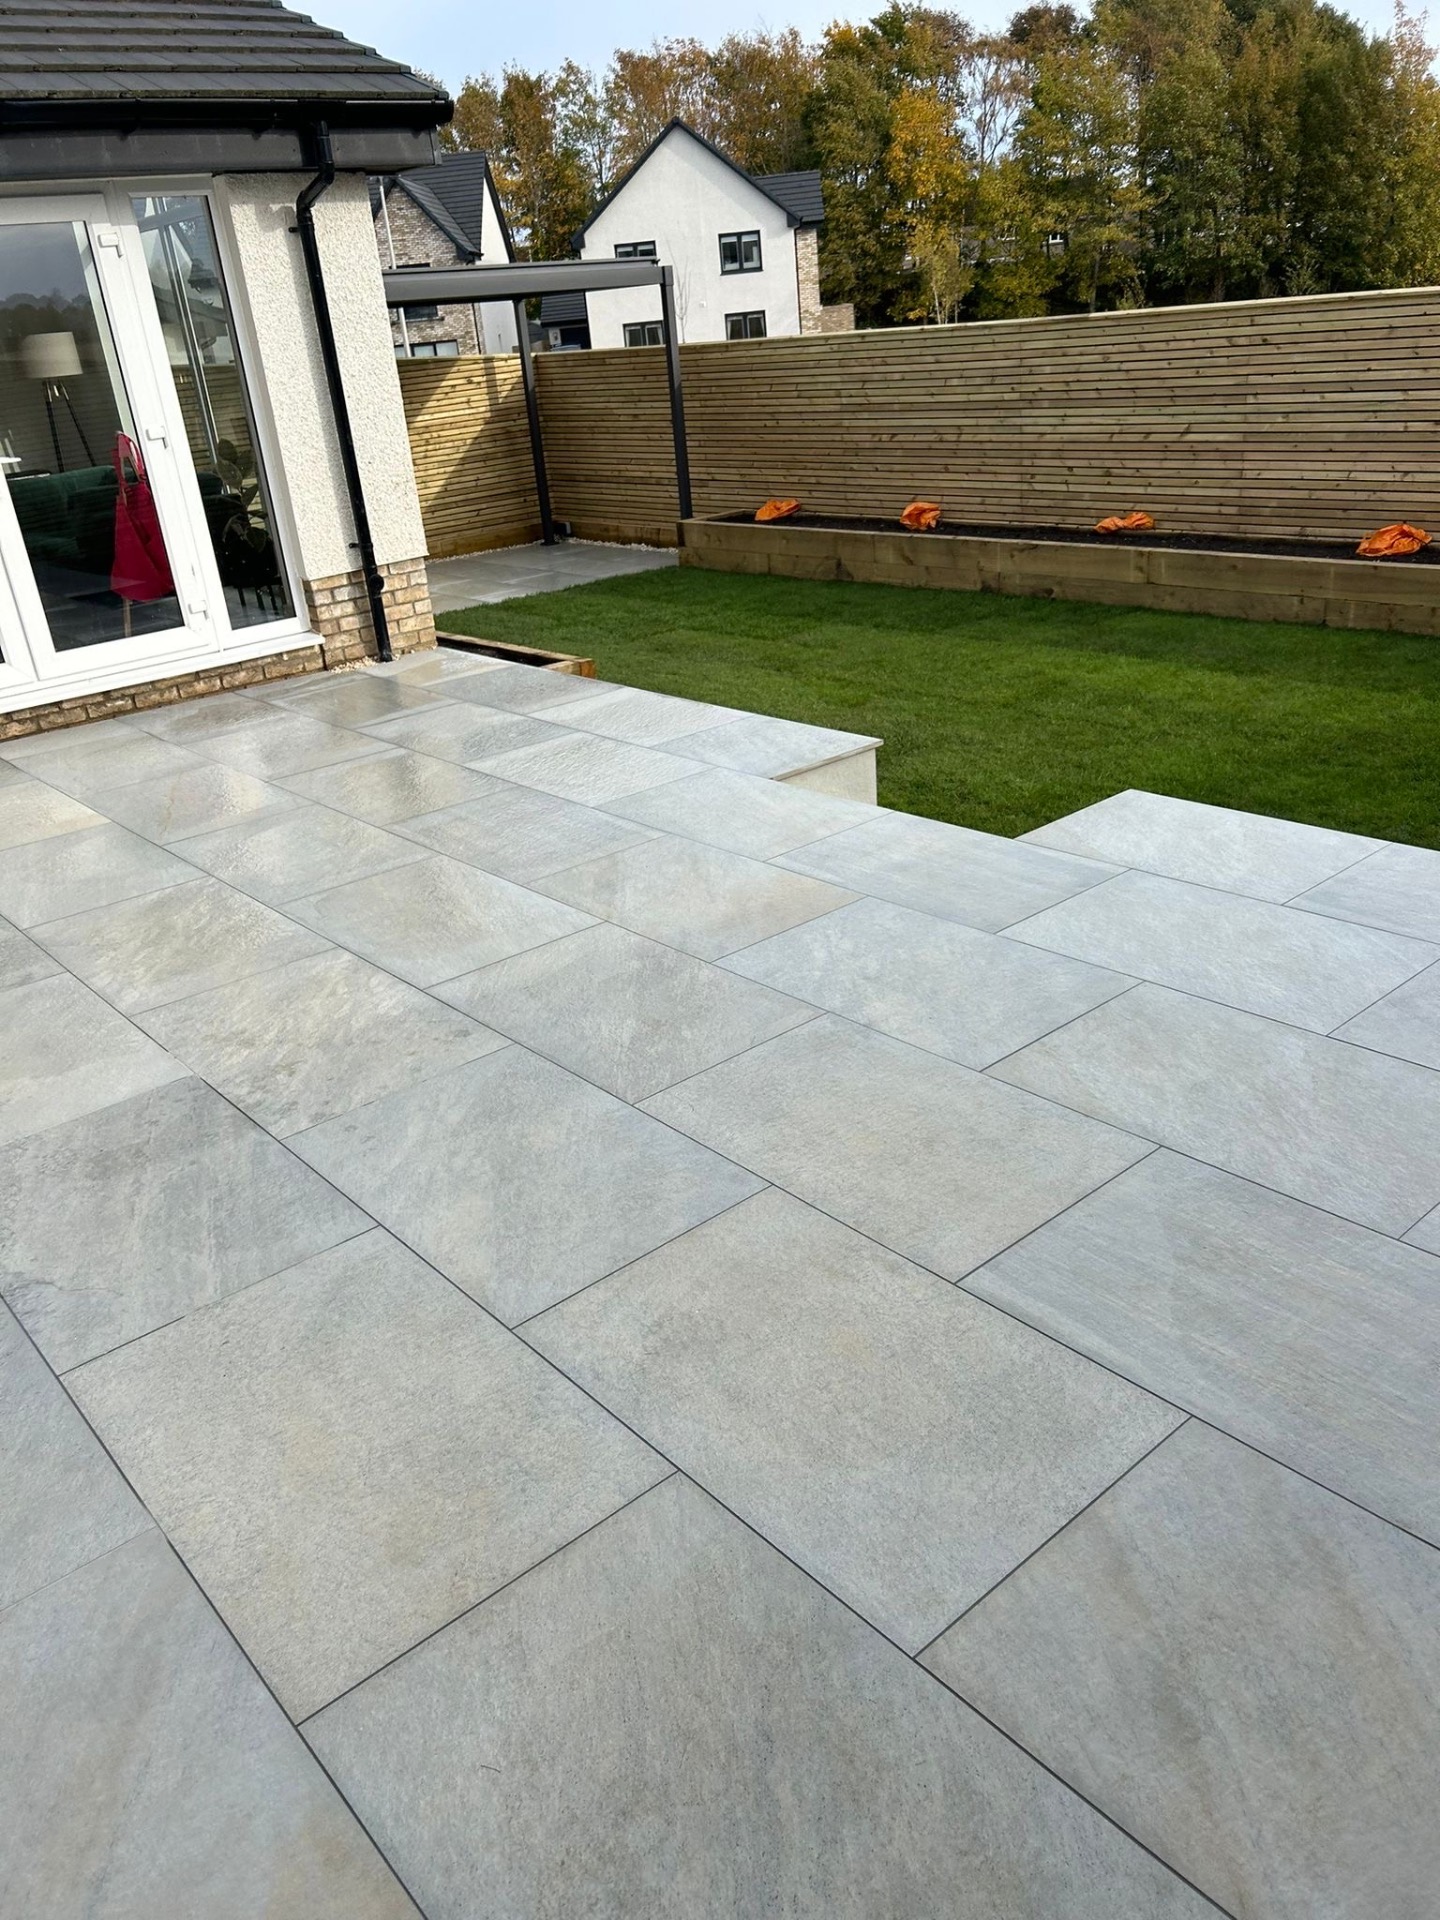
This is where almost every failed porcelain patio in Scotland goes wrong.Porcelain is virtually non-porous — mortar will not bond to the back of a slab unless a slurry primer (typically SBR-modified cement slurry) is brushed onto the slab back immediately before laying. Skip this and the slabs lift within 18 months.
Slabs are then laid on a full 50 mm wet mortar bed (5:1 sharp sand to cement). Spot-bedding ("five blob" method) is the other major killer — it traps water under each slab, freezes, and lifts. Every Maybury porcelain slab is fully bedded with primer slurry on the back, every time.
Stage 4 — Cutting & Jointing
Porcelain must be cut wet with a diamond blade — angle grinders crack edges and create future failure points. Joint widths are typically 5 mm (versus 8–10 mm for sandstone), maintained with spacers throughout. Brush-in jointing compound (Geo-Fix, Romex or similar) is essential — cement-pointed joints crack in Scottish freeze-thaw within 3 winters and look terrible against a perfect porcelain slab.
Stage 5 — Drainage Tie-In
Where falls run toward the house or a paved area abuts an existing surface, an aco-drain channel is installed and connected either to an existing soakaway or to a new permeable area. SuDS requirements apply to new front patios over 5 m² that discharge to highway. We size every drainage component to BS EN 752.
Choosing Your Porcelain Range
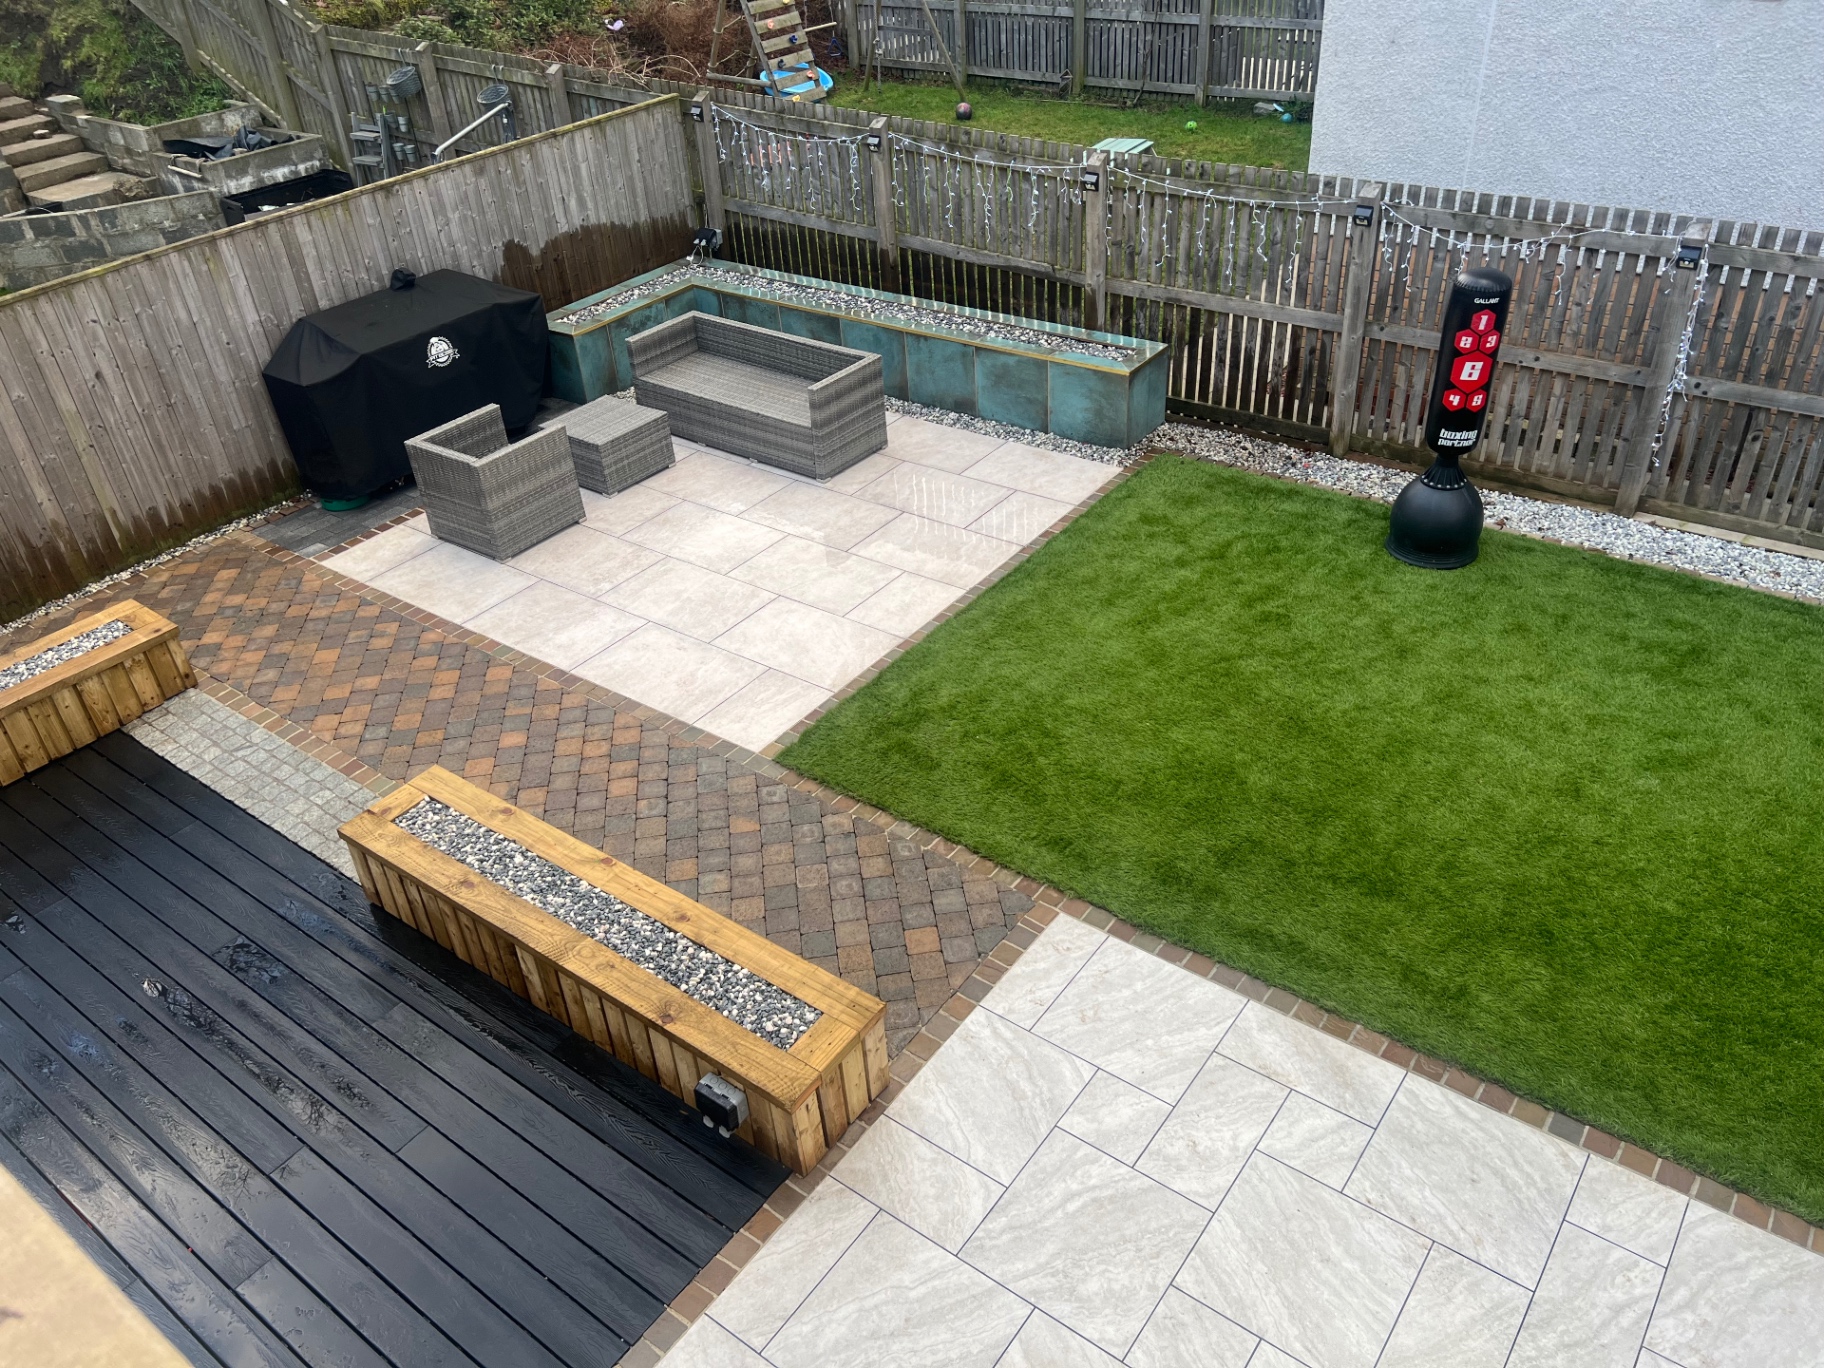
For Scottish use, specify R11 anti-slip rating minimum. 20 mm thickness is the standard for external paving — never use 10 mm tile-grade porcelain outside, it cracks. Reliable ranges we install regularly: Bradstone Aspero, Marshalls Symphony, Stonemarket Trustone and Tobermore Mayfair Flag Porcelain. Avoid unbranded import porcelain — colour and sizing tolerances are inconsistent.
Frequently Asked Questions
How is a porcelain patio installed correctly in Scotland?
A correctly installed porcelain patio in Scotland follows BS 7533: 200 mm excavation, 150 mm compacted MOT Type 1 sub-base in two lifts, edge restraints, primer slurry applied to the back of every porcelain slab, full 50 mm wet mortar bed (5:1 sharp sand to cement), 5 mm joints with brush-in compound, and a minimum 1:80 cross-fall away from the property. Spot-bedding ("five blob" method) is the #1 reason porcelain patios fail in Scotland.
Is porcelain paving good for Scottish weather?
Porcelain is the best-performing patio surface for Scottish weather. R11 anti-slip rating handles frost and wet, water absorption is below 0.5% (sandstone is 1–2%), so freeze-thaw cannot crack it, and it is mossless, stainless and zero-maintenance. The only weakness is incorrect installation — porcelain is unforgiving of poor sub-bases and bad bedding because the slab itself never moves.
Why do porcelain patios crack or lift?
Three causes account for 95% of porcelain failures we are called to fix in Edinburgh: (1) spot-bedding instead of full mortar bed — traps water, freezes, lifts; (2) no primer slurry on the slab back — mortar bond fails within 18 months; (3) inadequate sub-base or compaction — the whole patio settles unevenly. Porcelain itself is virtually indestructible — failures are always installation, never material.
How much does a porcelain patio cost in Edinburgh?
Installed porcelain patio cost in Edinburgh and Central Scotland in 2026 is £340–£480 per m² turnkey — including excavation, sub-base, edging, slab supply, primer, full bedding, jointing and labour. A typical 40 m² rear-garden porcelain patio lands £13,600–£19,200 inc. VAT. New-build properties under 3 years old qualify for 0% VAT, saving roughly £2,800–£3,800.
How long does porcelain patio installation take?
A 30–50 m² porcelain patio installation takes 6–10 working days on site. Porcelain takes longer than sandstone because every slab requires primer slurry application, more careful cutting (wet diamond saw only) and tighter joint tolerances. Add 1–2 weeks lead time for slab delivery — most porcelain ranges ship from Italy or Spain. Maybury build slots are typically booked 6–10 weeks ahead.
Get a Properly Installed Porcelain Patio
Free site visits across Edinburgh, West Lothian, Falkirk and Stirling. 5★ rated, 60+ reviews, 10-year guarantee.
Call 0800 644 0131